
THIS method will HELP overcome problems such as ants, weeds, sinking, and separating.

STEP 1.
Digout topsoil to 120mm. Install PREMIER-BASE-COURSE and rake out.

STEP 2.
Compact base course to 60mm thick using feet or preferably plate compactor.

STEP 3.
Check levels with a tape measure. Your base course should be approx 60mm below the finished level of your paving.

STEP 4.
Check levels with a spirit level.

STEP 5.
Mix bagged MORTAR-MIX with water to toothpaste consistency (in a wheelbarrow or mixer) or mix PREMIER-WASHED-SAND with cement, water and plasticiser – sand and cement can be ordered from PREMIER.

STEP 6.
Trowel 5 spots of mortar mix onto the base course. Then lay a strip of mortar where the next joint will be.

STEP 7.
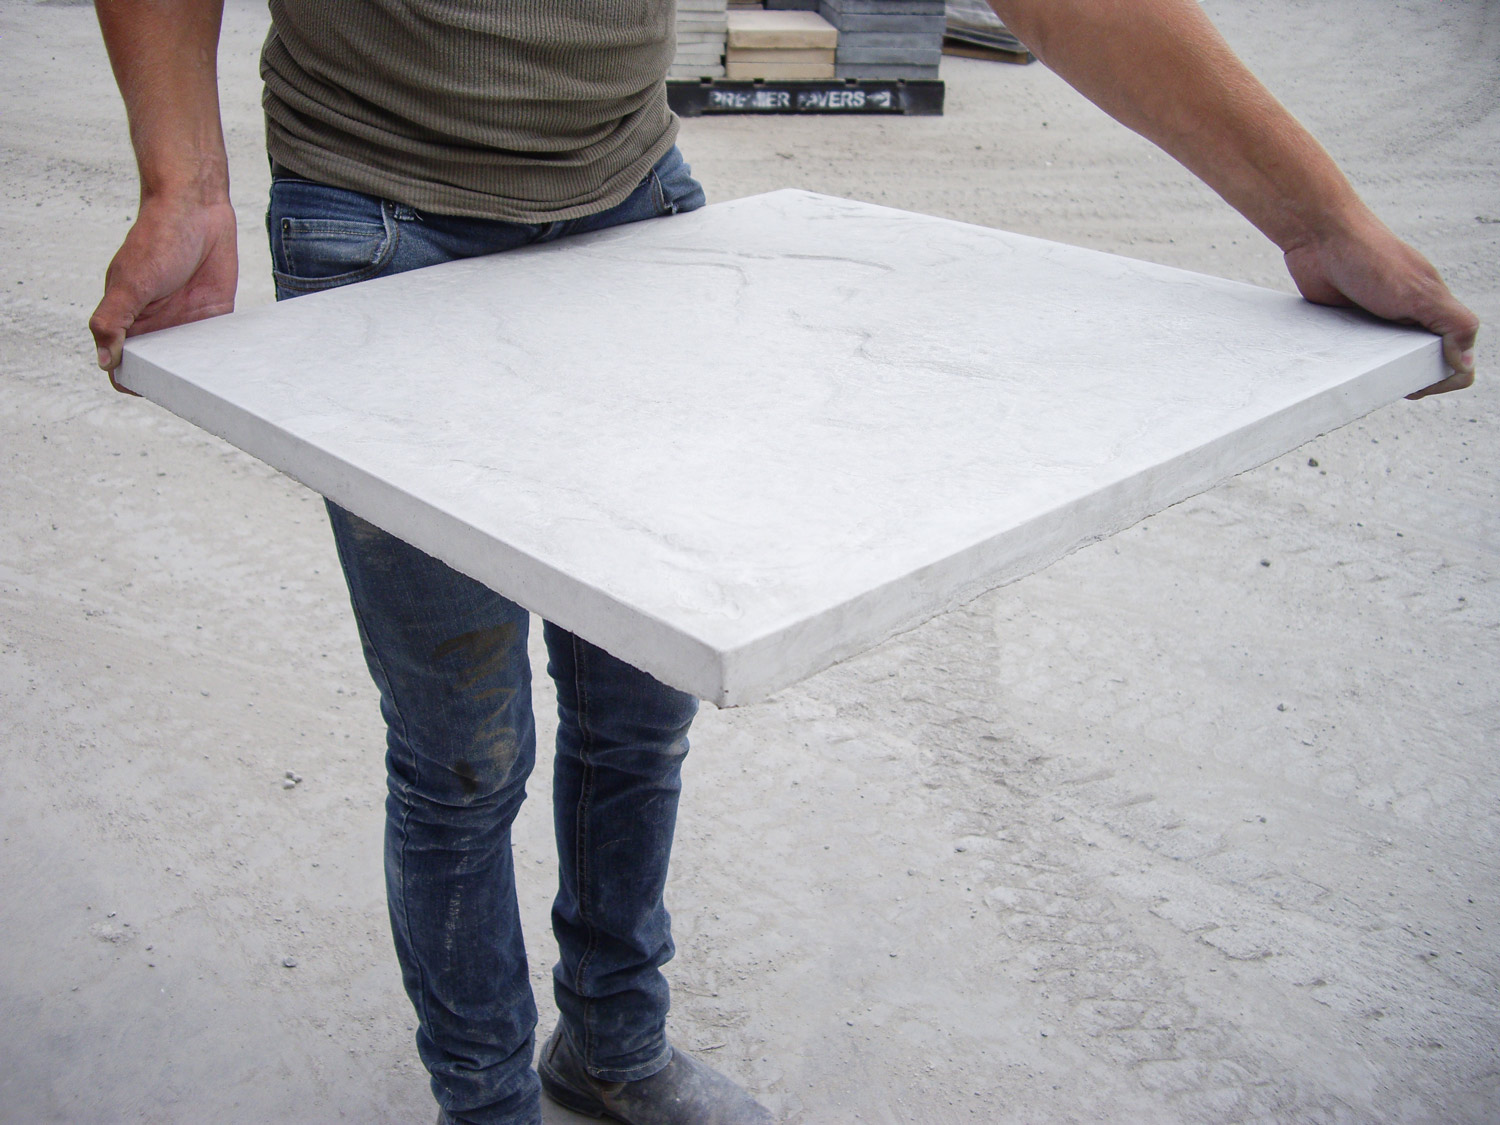
the spots (the mortar should squash down and spread out to 20mm thick. Use a sponge to wet the back of each paver before you lay.

STEP 8.
Gently tap the paver down to desired level with a rubber mallet. Joints should be approx 10mm wide at top of the paver.
DO NOT BUTT HARD TOGETHER.

STEP 9.
Check levels across pavers continuously and tap down if needed.

STEP 10.
You should end up with approx 40mm paver, 20mm mortar, 60mm base. When all pavers are laid –
DO NOT WALK ON FOR 24 HOURS.

STEP 11.
Wet the surface of the pavers and pour on the PREMIER P30. Wet the grout thoroughly and sweep into the joints. Only grout 4-5m2 at a time. Ensure the grout is a wet slurry!

STEP 12.
Sweep off the remainder of the grout 45 degree to the grout lines.

STEP 13.
Only seal if required. Hire a professional! PAVERS MUST BE 100% DRY BEFORE SEALING.
