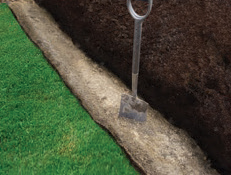
STEP 1 . SITE PREPARATION AND EXCAVATION
Dig out the area behind where your wall will go to allow for drainage and back fill. Then dig a trench 500mm wide and 200mm deep along the line of your walls planned base.
STEP 2 . PREPARE A LEVEL BASE
Compact the soil in the base of your trench. Then fill trench with PREMIER-BASE-COURSE or similar and compact evenly. Check with a string line and spirit level to ensure your wall will be built on a solid, level base.
STEP 3 . INSTALL THE FIRST LAYER
You must ensure the first layer is perfectly level. Place the blocks onto the base and tap with rubber mallet. As you lay the first layer – check that it is level from side to side and back to back. Check the back of the first layer with string line. On a sloping site, step the trench in 100mm increments to ensure blocks remain level. Always start laying your wall from the lowest point and work uphill.
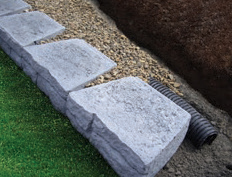
STEP 4 . DRAINAGE
If your wall is going to be 3 layers or more high, then place a “punched”drainage coil behind the first layer of blocks. Extend the coil away from the wall and connect to the nearest silt trap. Cover the coil with drainage aggregate.
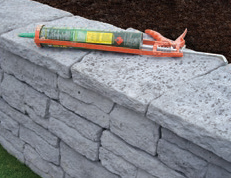
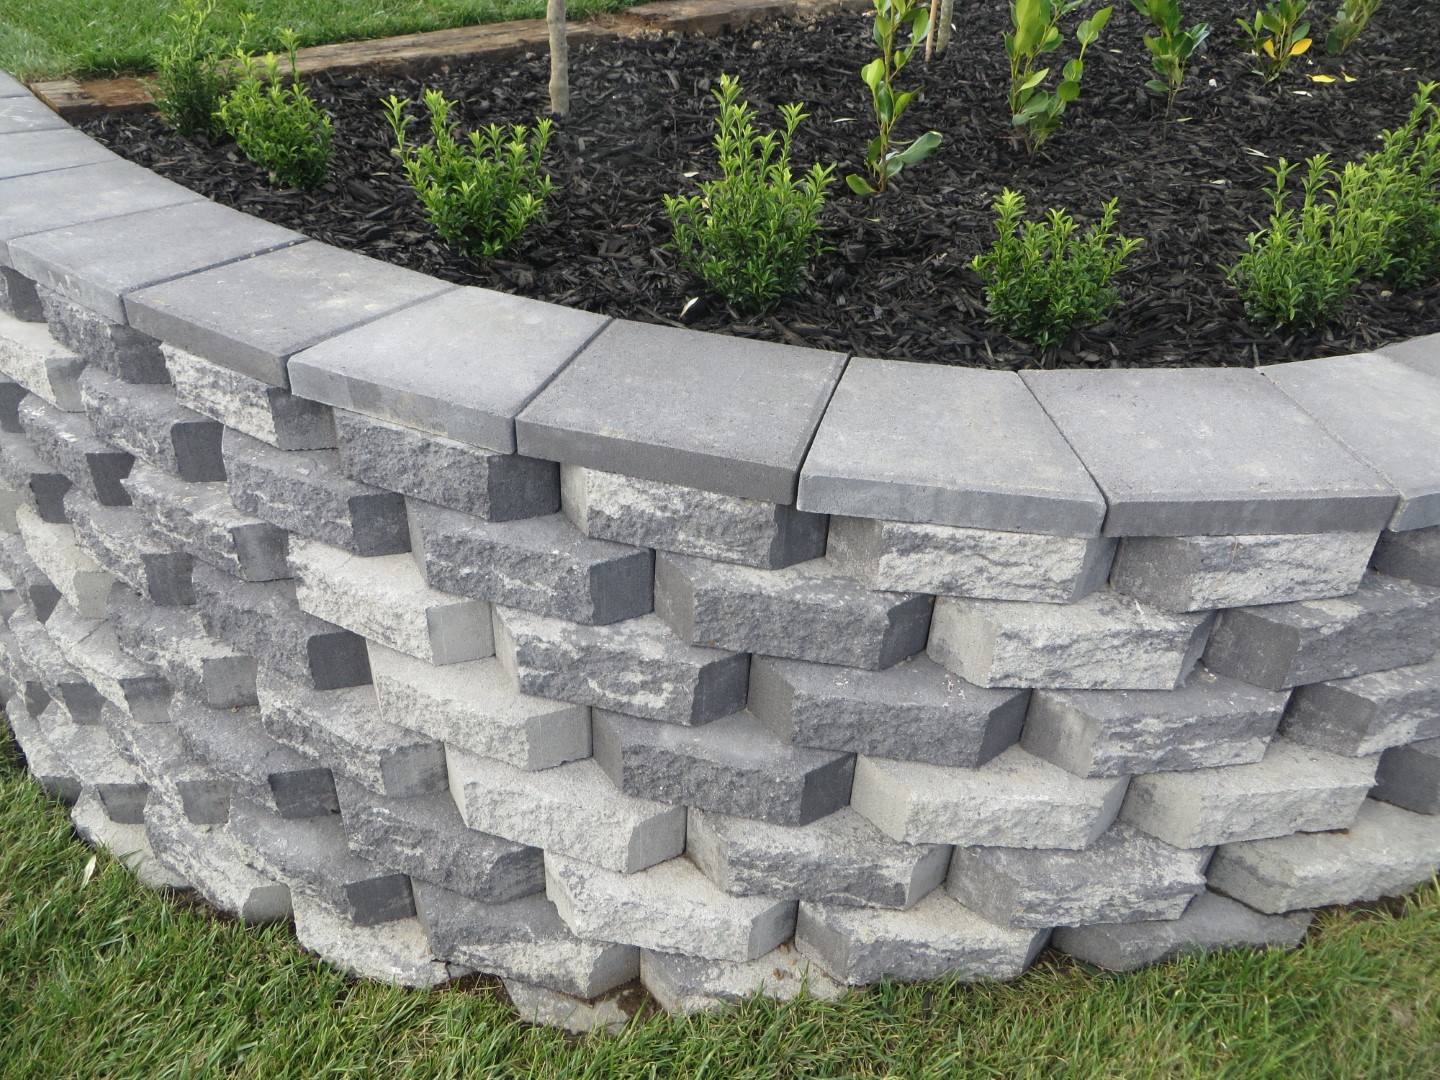
STEP 5 . STACKING AND BACKFILLING
Brush the first course clean and place the second course in a stretcher bond pattern. Ensure the nibs of the upper block engages with the back of the bottom block to prevent movement. As each layer is finished, place drainage aggregate and backfill behind the wall and compact the back fill every 2 courses. Continue until finished height is achieved. Then place capping stones on the wall to finish off. (These can be glued down with construction adhesive if you desire)